
How to use the App
Set your farm up for success with these 10 simple steps
1. Create an account
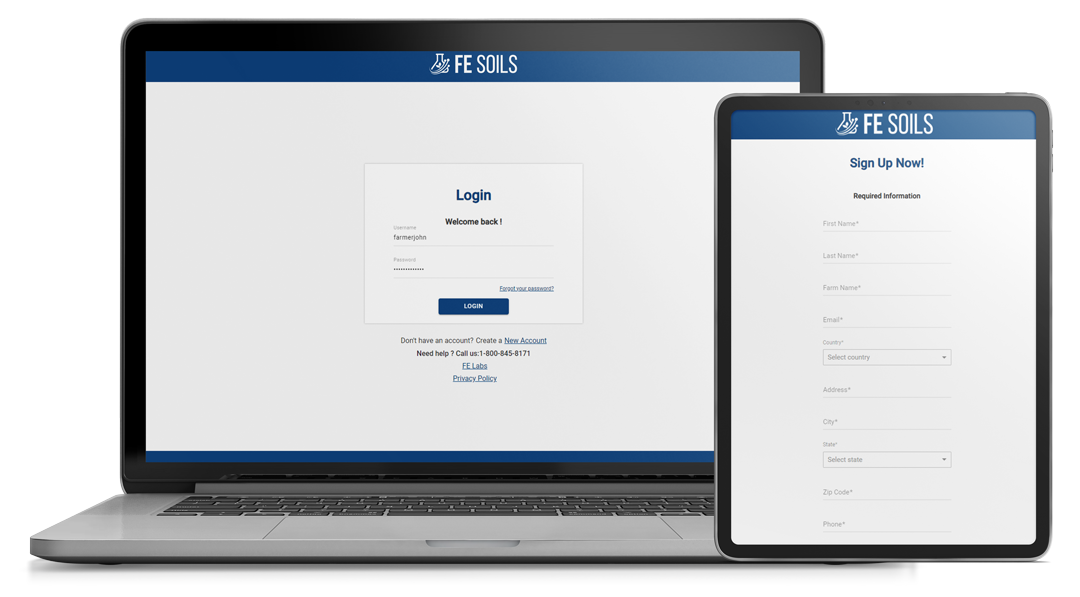
Create a free account here and download the FE Soils App on your device. Use the in-field app to guide sampling points and the desktop portal to manage orders and view results. You must create your account on the desktop portal first before being able to access your account on the app.


2. Order your soil sampling supplies
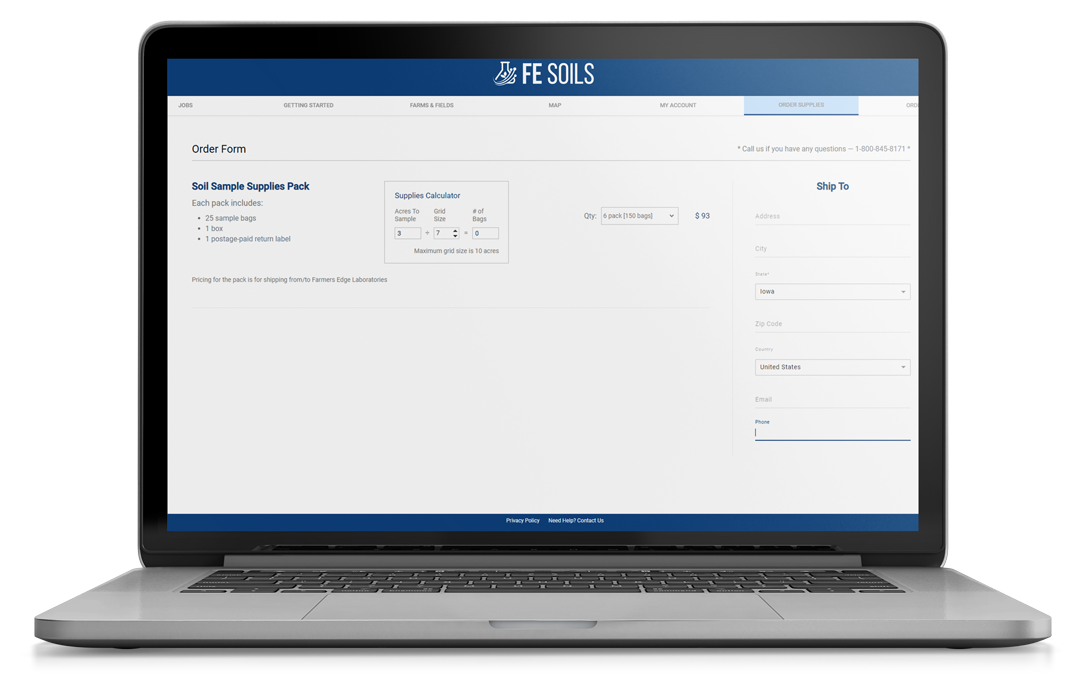
Proper soil sampling requires a variety of supplies to help ensure effective test results. You can order soil sampling bags, probes and other tools from our Supplies Store.
For further assistance, contact FE Soils support at 1-800-845-8171 or by email at fesoils.helpdesk@farmersedge.ca
3. Define your farms & fields
On desktop:
- Name your Farm(s)
- Name your Fields for that Farm
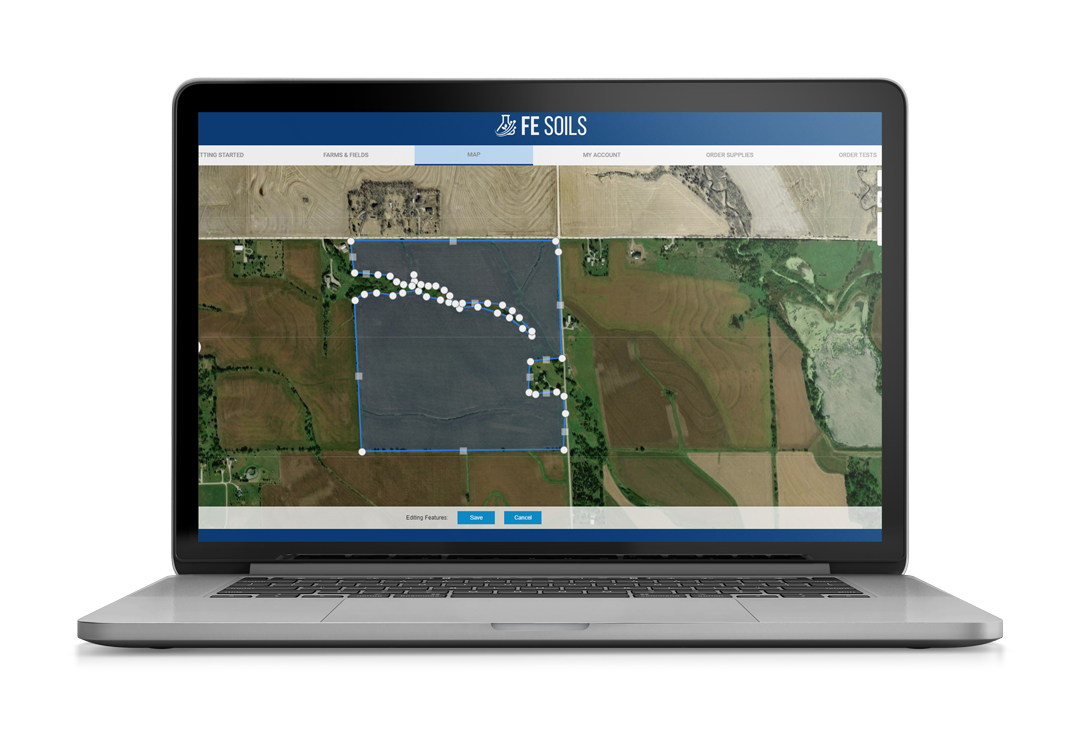
- Create your Field Boundaries
On the app:
- Select Farms & Fields and enter the names
- Use GPS coordinates to set your Boundaries
4. Create a soil sampling job
Once Field Boundaries are defined, it’s time to create a soil sampling job for that Field. Building a job generates a Job Number for the season you are sampling. Once the job has been made, create a Grid Overlay to define where samples should be taken. This is a key step, which helps space the sampling over the Field, allowing you to return in other seasons to sample at nearly the same spots for stronger comparative analysis between seasons.
On desktop:
- Select Map
- Select +Add New Jobs
- Select Your Farm to sample
- Select Your Grid Overlay size
- Select the Field(s) to sample
- Adjust and lock your Grid Overlay
- Save your job
On the app:
- Select Soil Sample Jobs
- Select your job
Note: You must be in the Field you selected before the mark button will appear.
5. Get ready for sampling
Increase your success rate and reduce repeated visits to your field.
Follow an easy checklist:
- Sample Bags
- Soil Probes
- Mobile Device
- Safety Gear
- Plastic Bucket
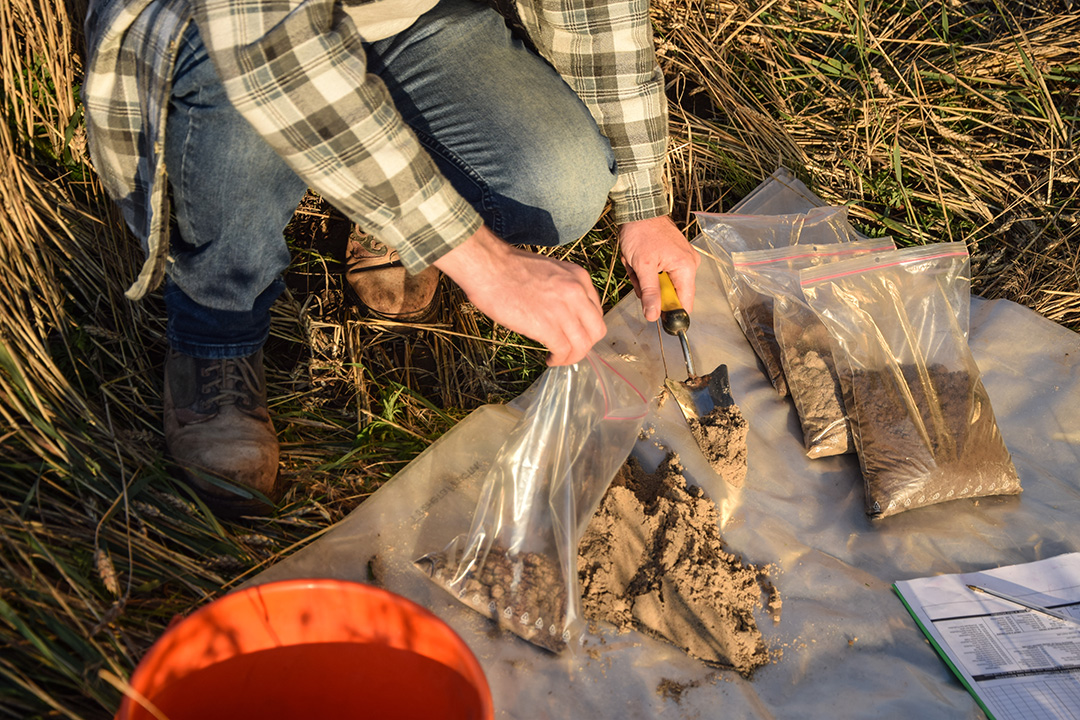

6. Pull and record your soil samples
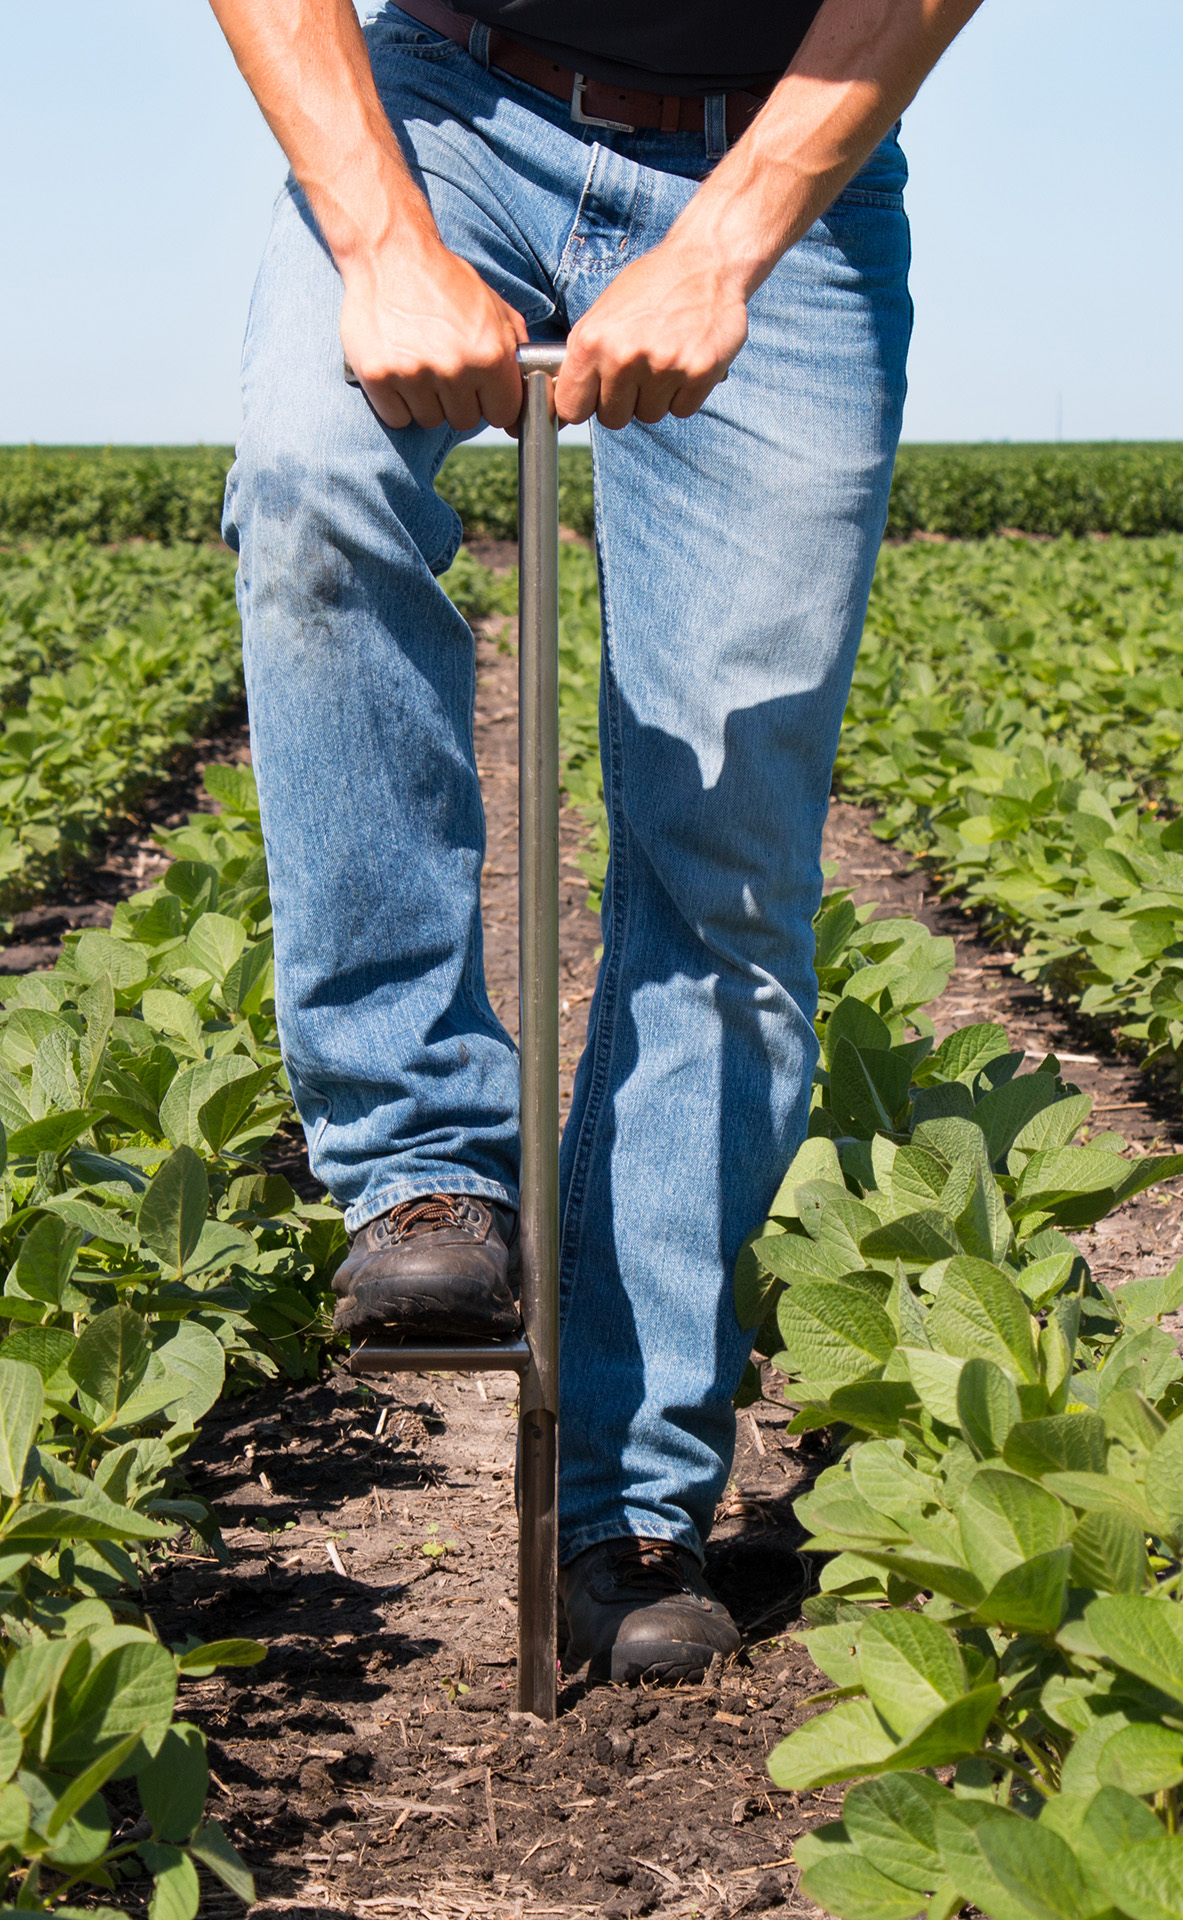
Open FE Soils on your mobile device. Use the Compass and navigate to your Field to collect your samples. Move from point to point, logging them as you go inside the app. The system will autogenerate sample numbers for you or you may use your own numbering system. Be sure to write the numbers from the app onto your sample bags so you have a reference to refer to.
7. Finish and close your sampling job
Once you have completed sampling in the field and have recorded the data inside the app, close the job and commit the data you’ve entered. Review and verify your entries before close the job.
*Note – You cannot edit a closed job
Data inside your mobile app must be synced to FE Soils servers for processing:
- Verify the data and finalize it by closing the job
- Select Synchronize on the main menu to upload your data to FE Soils

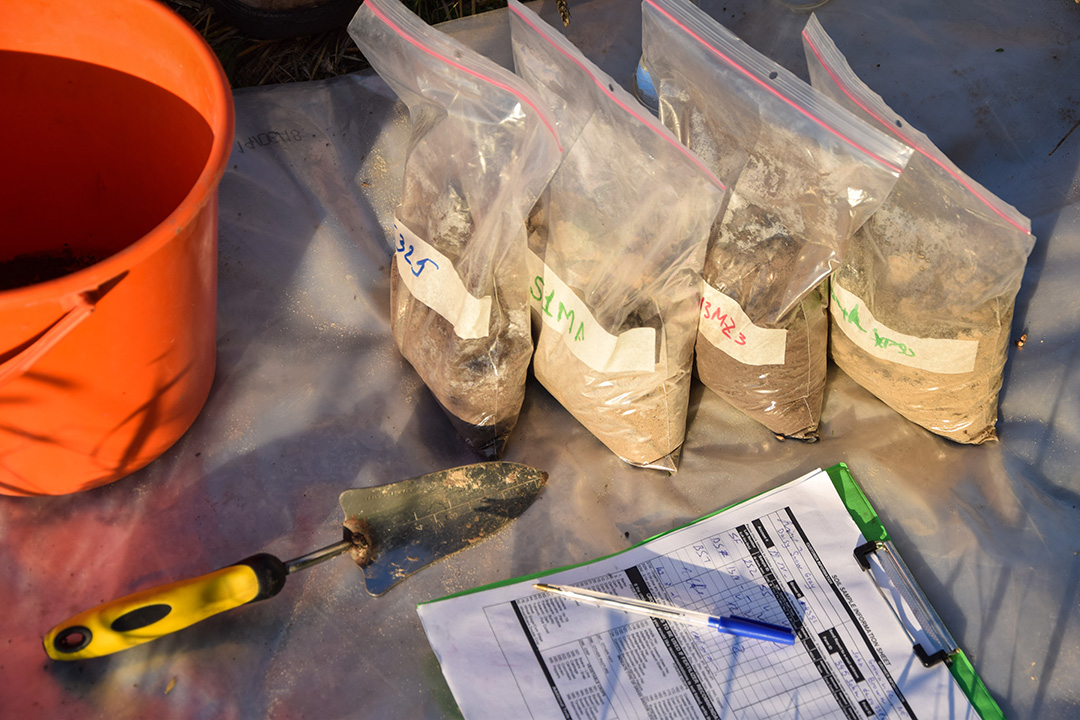
8. Send your soil samples to Corvian Labs
Once you’ve Ordered Tests, pack your samples for shipment and include all required documentation, clearly labelled for each job. Your test results will be uploaded to your account within 5-7 business days from receiving your shipment.
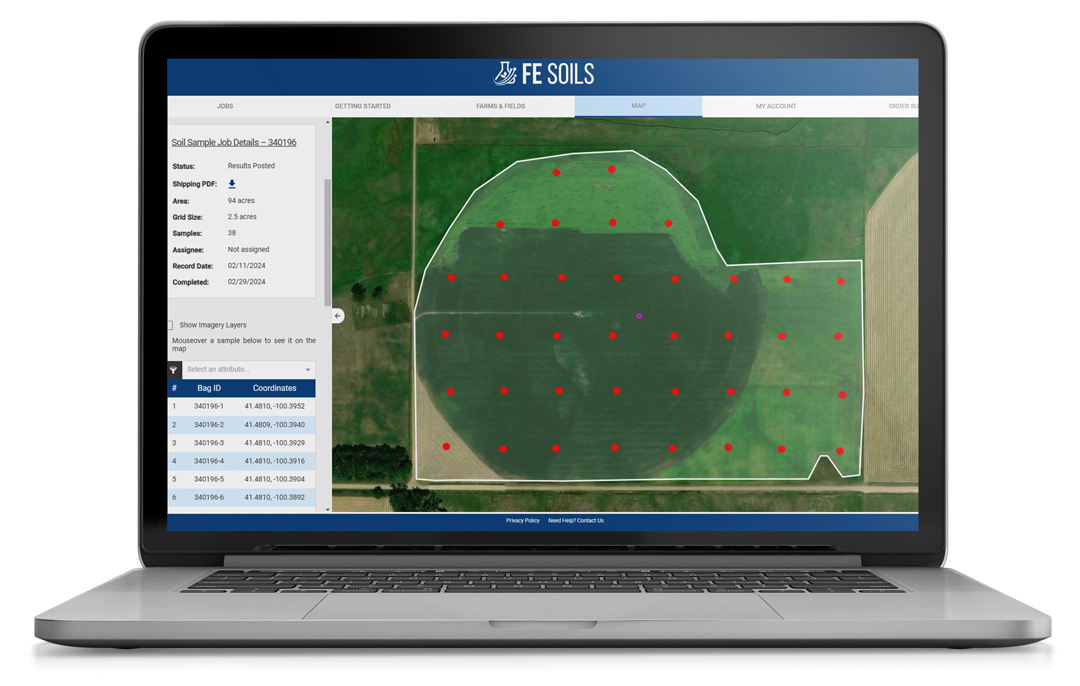
9. View soil test results
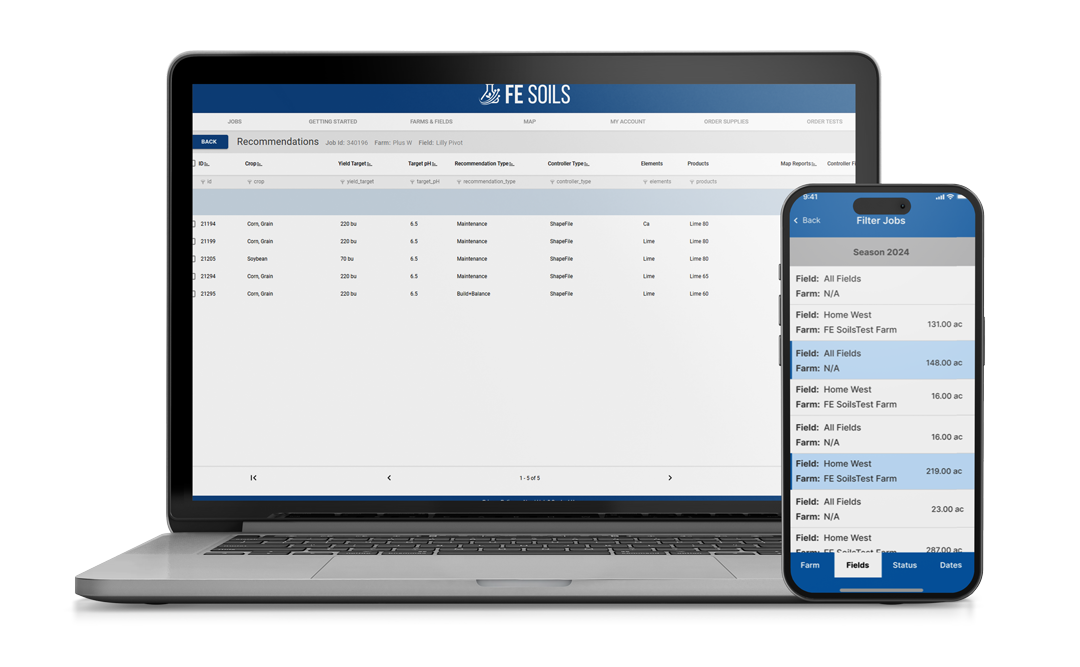
10. Generate recommendations and export controller files
Build your own fertility prescriptions or leverage our proven agronomic models using the auto-generator tool. Once you build your prescription, export controller files to put them into action.
Support & Questions

Create an online account here. Then, download our app to map your fields and start sampling.